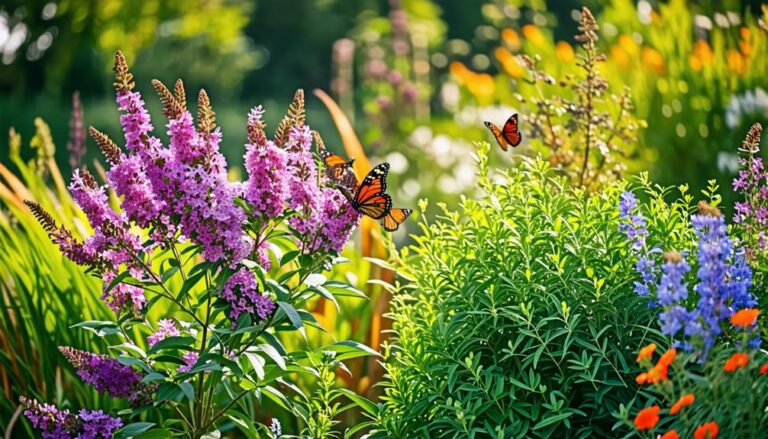
Cultivating Lavender: Mastering the Layering Propagation Technique
Lavender, renowned for its enchanting fragrance and therapeutic properties, is a staple in gardens across the globe. Beyond its aromatic appeal, this hardy herb thrives in sunny spots, serving as both a pollinator magnet and a natural pest deterrent. If you love lavender and want to expand your collection without spending a dime, try your hand at propagation! Specifically, layering is an efficient method to replicate this beautiful plant right in your garden.
Understanding Layering: A Clever Propagation Method
Layering is a propagation technique that allows you to grow new plants from existing ones without severing the branches from the parent plant. It’s a smart way to cultivate lavender because it minimizes the stress on the plant while maximizing your chances of success. This method is particularly advantageous for lavender due to its natural growth habits.
When you layer lavender, you’ll utilize branches from the original plant, bending them to touch the ground. By burying parts of the branch in soil while leaving the tips exposed, you encourage the plant to develop roots! It’s a straightforward process that doesn’t require special tools or a lot of space.
Preparing for the Layering Process
Before you dive into layering, choose the right time of year. Lavender responds best to layering during the spring or summer when the plant is actively growing. At this time, look for softwood stems that are flexible and rich in nutrients. On the other hand, if you prefer using older, more established branches, late fall or early winter is the time to act.
Once you’ve chosen your branches, the next step is soil preparation. Clear the area around your lavender bush of leaves and debris, loosening the soil to promote root growth. Mixing in high-quality compost or organic fertilizer will provide those essential nutrients your lavender craves.
The Step-by-Step Layering Process
Now, you’re ready for the exciting part! Here’s how to layer your lavender:
- Select the Right Branches: Look for long, healthy stems that can easily reach the soil.
- Prepare the Stem: Using a sharp knife, gently shave a small section of bark from the part of the branch that will be buried. This exposes the soft inner tissue, igniting the rooting process. If you’re working with softwood, bending the branch might be enough to create a small crack while revealing the inner green.
- Bury the Branch: Dig a shallow trench in the soil. Place the shaved section of the branch in the trench and cover it with one to two inches of soil. If the branch needs support, consider using a garden staple or a rock to hold it in place.
Once you’ve completed these steps, give your lavender a good watering. Patience is key; it might take several months to a couple of years for roots to form. Once established, cut the new plants from the parent bush and carefully transplant them to their new homes.
Caring for Your New Lavender Plants
After you’ve successfully layered your lavender and created new plants, it’s essential to provide them with the right care. Ensure they have plenty of sunlight and drink plenty of water, especially during dry spells. Regularly check the soil’s moisture level, as lavender thrives in well-drained conditions and does not like to sit in water.
Moreover, as the new plants begin to grow, pruning them slightly can promote bushier growth. You’ll soon have many new lavender bushes gracing your garden!
Final Thoughts
By mastering the layering technique, you not only nurture your gardening skills but also expand your lavender collection effortlessly. This method of propagation allows you to enjoy the beauty and benefits of lavender while saving money. Additionally, it’s a satisfying way to engage with nature as you actively participate in the plant’s lifecycle.
So roll up your sleeves, gather your tools, and get ready to enrich your garden with vibrant new lavender plants. Happy gardening!


