Your Guide to Capturing Stunning Photos of the Northern Lights
Witnessing the Northern Lights, known scientifically as the aurora borealis, is a breathtaking experience that leaves many in awe. These colorful, shimmering lights not only fill the sky with beauty but also create lifelong memories for those lucky enough to see them. While the experience is unforgettable, many people want to document it in pictures to share their adventures with friends and family. Capturing the magic of the Northern Lights can be challenging, but with the right techniques and equipment, you can achieve stunning images. Here’s how to take that perfect shot of the aurora.
Mastering Your Smartphone Camera Settings
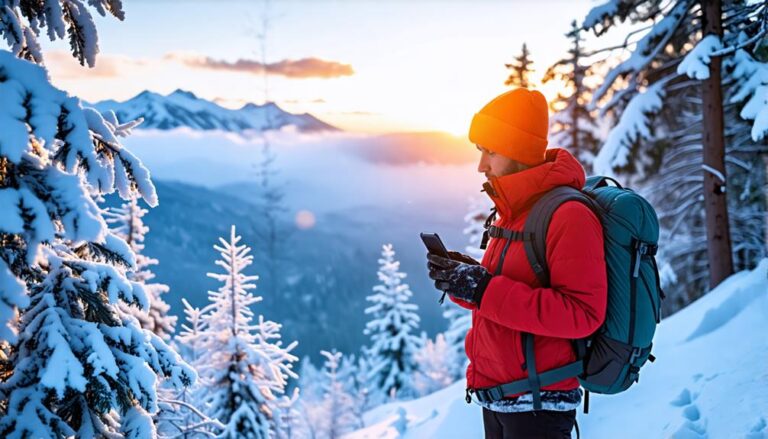
Today, most pictures are taken with smartphones, and the Northern Lights are no exception. Fortunately, you don’t need an elaborate camera setup to capture stunning aurora photos. However, some adjustments to your phone camera settings will enhance your images significantly.
Start by turning off the flash, as it won’t help illuminate the aurora and may disrupt your view. Utilize your phone’s night mode feature to boost low-light capabilities. Dim the screen brightness to prevent it from affecting your night vision and adjust the exposure settings to extend the exposure time to around 10 seconds or longer. For crisper images, keep your phone as still as possible; consider investing in a tripod or a stable surface to rest your device upon. Additionally, apps like Northern Lights Photo Taker can simplify your settings and help you capture the moment effortlessly.
Optimizing DSLR and Mirrorless Cameras
While smartphones are convenient, dedicated cameras like DSLRs and mirrorless systems offer greater control and quality, especially in challenging lighting conditions. These cameras allow you to adjust settings manually, resulting in superior photographs of the Northern Lights.
A wide aperture is key to capturing enough light, so set your lens to a wide-open position (f/2.8 or lower). You’ll also need a slow shutter speed to let in more light, and a higher ISO (such as 1600 or 3200) to brighten your images. For focusing, shoot manually at infinity to ensure the aurora is sharp. Many photographers prefer the manual mode for controlling these settings, but a well-functioning night mode can yield great results too. Experimenting with different settings is invaluable, and don’t hesitate to try landscape mode if your camera allows it.
Choosing the Right Lens
When photographing the Northern Lights, the lens you select plays a significant role. Wide-angle lenses with focal lengths between 14mm and 35mm are ideal for capturing the sweeping vistas of the aurora. Fast lenses, with an f-stop of 2.8 or below, enhance your ability to gather light. The quality of the lens is also crucial; invest in high-quality glass to avoid distortion or fuzziness. Good lenses may be an expense, but they represent a worthwhile investment for moments rarely encountered.
Stability Matters: The Importance of a Tripod
One of the simplest yet most effective tools you can use in capturing crisp images of the Northern Lights is a sturdy tripod. Camera shake can ruin photos taken during longer exposures, so a tripod allows you to keep the camera steady.
A stable base not only helps prevent blur but also lets you compose your shot precisely. Once you have framed the perfect shot, you can capture multiple exposures without needing to adjust the camera each time. This is particularly valuable when shooting in rapidly changing light conditions typical of the aurora.
Scouting the Perfect Location
No matter how skilled you are at photography, the location of your shoot influences the quality of your images. Seek out spots with minimal light pollution and an unobstructed view of the sky. Areas away from urban light sources will reveal more vibrant colors in the aurora.
Consider picturesque landscapes or unique foregrounds to add depth to your images. Sleeping outdoors or near the viewing area can increase your chances of catching the lights since they can appear at any time during the night. Scout your location beforehand to identify the best angles and compositions.
Whether you are equipped with a smartphone or a professional camera, being prepared can make all the difference in your Northern Lights photography. With the right settings, proper equipment, and an ideal location, you can capture stunning images that will remind you of this enchanting phenomenon for years to come. So grab your gear, scout your spot, and get ready to experience the magical dance of the aurora borealis!


